This simple baghouse accessory can mean the difference between a properly functioning baghouse and an operational disaster! Use this guide to ensure proper installation and maintenance of your differential pressure device.
By Dominick DalSanto
Baghouse Technology Expert and Sales Director
Baghouse.com
- Part 1 – Why Important?
- Part 2 – How to Troubleshoot False Readings
- Supplement – How to Install a Dust Collector Differential Pressure Sensor
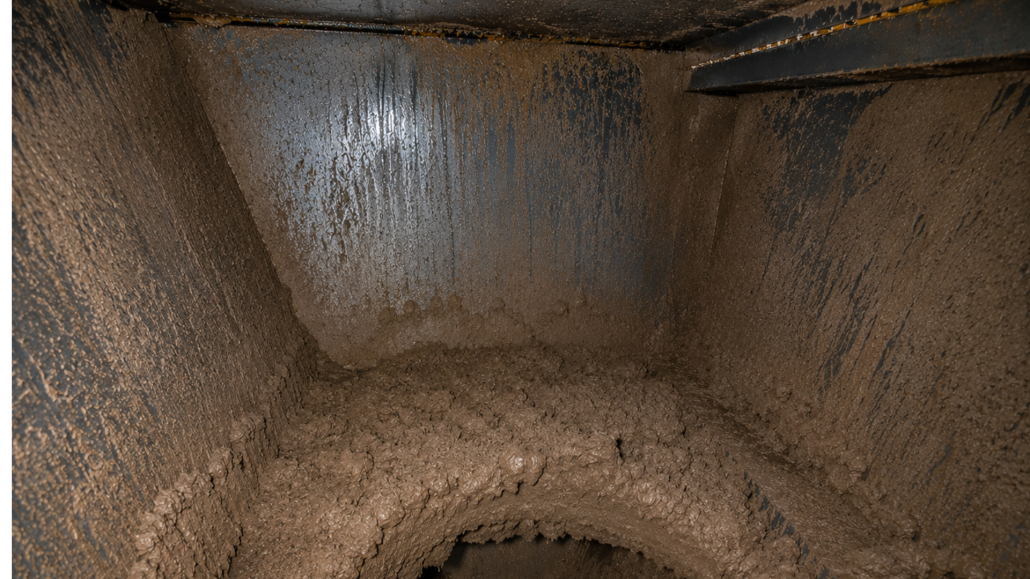
One of the most common issues we identify during our dust collection system audits/inspections is poorly installed and maintained differential pressure system components (e.g. magnehelic/photohelic gauges, DP air lines, DP taps, etc.). As we have covered in previous articles in this series, having accurate differential pressure readings is essential to proper dust collector operation.
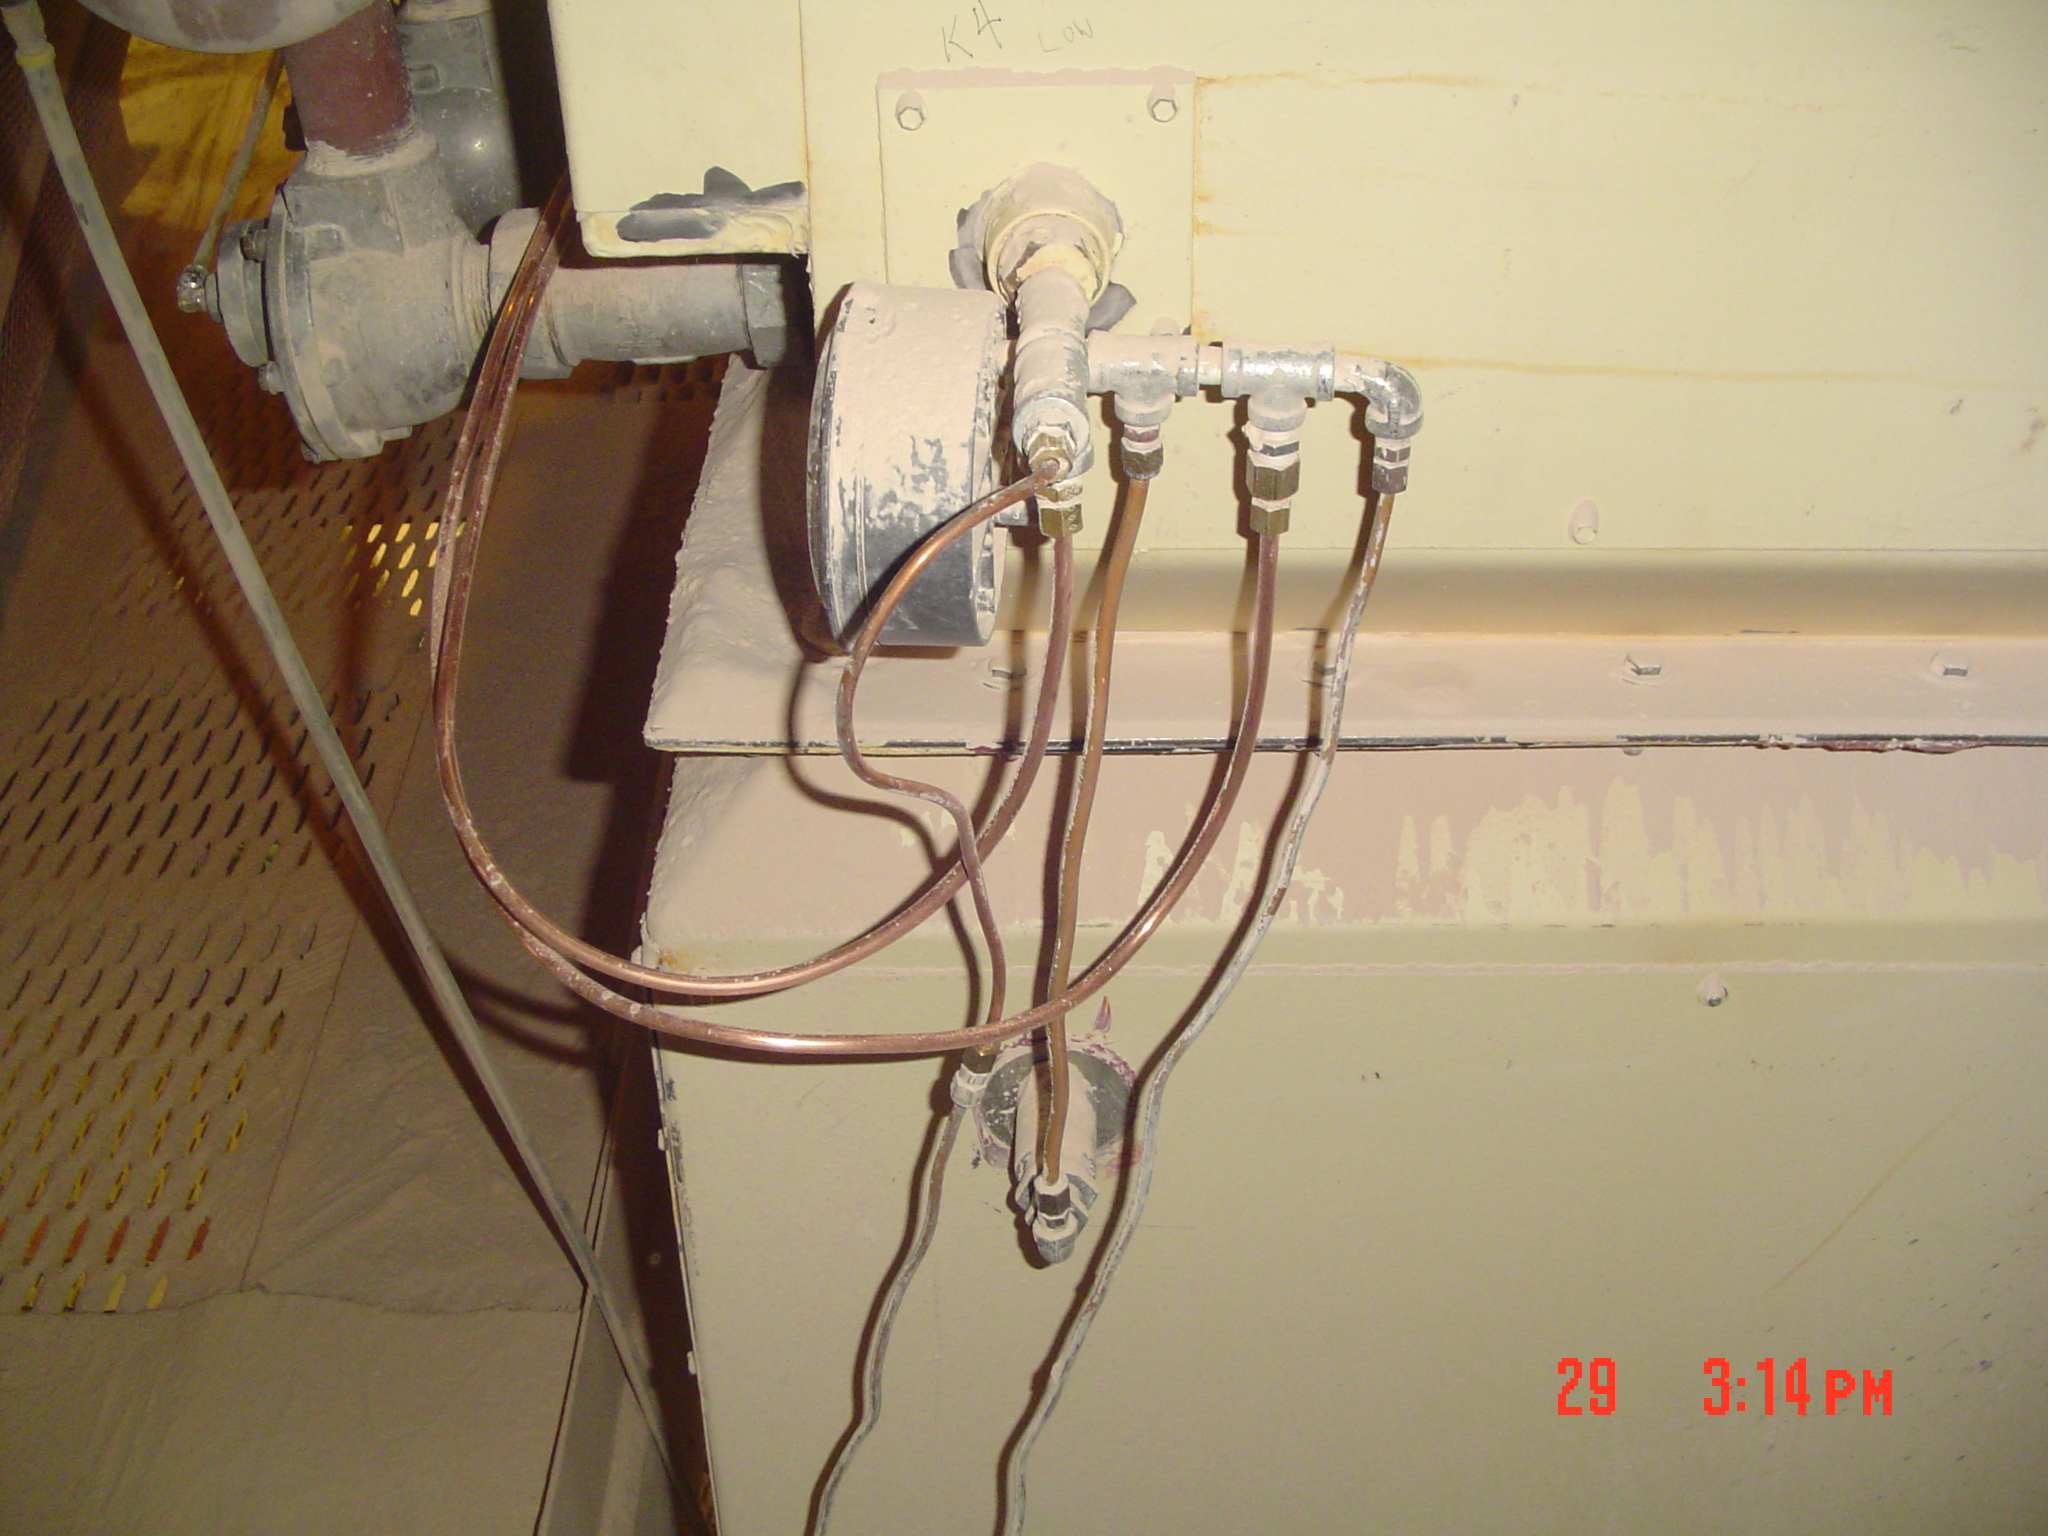
Avoid the example here. Avoid splitters and crooked lines.
I was recently asked by one of our readers if we could write an article on how to install the differential pressure reading system components for a baghouse. The process, like many baghouse-related items, is not complicated. However, there are some industry best practices that make maintenance easier and reduce likelihood of problems in the future.
This guide can be used regardless of what kind of differential pressure reading system you are going to use. The process is the same for magnehelic and photohelic gauges, as well as timer boards and control boards with on-board pressure sensors.
Installing a Baghouse Differential Pressure System
- Determine what kind of differential pressure controls you will use
- Magnehelic gauges are simple and provide reliable data. However, they alone cannot be used to control the cleaning system on a baghouse.
- Timer boards are useful for processes that are consistent in dust loading and operating schedules, but must be manually set by operators.
- Clean on demand systems are the best choice for controlling a dust collector. Often, these systems are all in one controllers, or they are a mix of a control board with an external photohelic or magnehelic gauge for pressure readings
- Air lines running between the controls and the baghouse can be plastic, carbon fiber, or even metal (copper or aluminum). Plastic or carbon fiber lines are easier to run, but metallic lines are much more durable and will require far less maintenance in the long run.
- Consider installing secondary magnehelic gauges for redundancy and easy reading by maintenance personnel.
- Decide on the location of your control(s)
- Locate your controls where they can be easily accessed by maintenance personnel. With smaller units often the most convenient location for controls and gauges will be on the ground level. Good locations include on supports or nearby walls. On larger units, controls are best located near the doors or along access platforms. Common locations include next to the door, above the pulse valves and compressed air header, or on a nearby wall or column.
- Decide on the location of your air taps and plan your air line runs
- Air taps are best placed near the corners of the clean and dirty plenums. This minimizes the amount of dust that can enter back into the air lines and possibly foul the DP sensors. Try to keep them about at least 6″ from the walls and in the corners where practical. Keep both taps near each other for easy access when performing maintenance.
- Decide on the best path for your air lines. Avoid runs over 100′ as this may affect the accuracy of the readings.
Common Issues with Dust Collector Differential Pressure Gauges
Problem: I hooked up the DP lines, but my DP sensor is giving me a negative reading.
Solution: You likely have the lines mixed up. Try switching the lines on the inputs.
Problem: I have the lines set up correctly, but I am getting very low readings (usually under 1″).
Solution: Before installing the both lines, you need to zero out the gauge. Attach one side and then with the other one off zero out the DP sensor. Now when you attach the second line it should give an accurate reading
Problem: My controller is setup, but the solenoids are not firing.
Solution: Check your wiring to make sure you have everything correct. Often, the common line from the solenoid to the control is mixed up with one of the control wires. Double check everything and follow the wiring diagrams from your manufacture exactly.
Special Thanks
A special thanks goes out to one of our readers, Tim Skiba, for suggesting this subject for an article. If you have any topics that you would like to see discussed on Baghouse.com, please share them with us in your comments below. Thank you so much for reading.
| Dominick DalSanto is an author & dust collection technologies expert, specializing in dust collection systems. With nearly a decade of hands-on working experience in the industry, Dominick’s knowledge of the industry goes beyond a mere classroom education. He is currently serving as sales director at Baghouse.com. His articles have been published not only on Baghouse.com , but also on other industry related blogs and sites. In his spare time, Dominick writes about travel and life abroad for various travel sites and blogs.

Director of Operations | Dust Collection Specialist | Industrial Filtration Consultant
Dominick DalSanto is an author and environmental technologies expert specializing in dust collection systems. He has nearly a decade of hands-on working experience in the industry. Dominick is the sales director and sales technical advisor for an industrial dust collection equipment manufacturer. Personally took the lead on key projects each year from sales engineer to field advisor to project manager to business relations. Born in San Bernardino County, California, and raised in Chicago, he currently resides in Buenos Aires, Argentina.